
A Perfect Guide to do TP Link Range Extender Setup
Struggling with internet dead zones in your house? Can’t even access your home WiFi network from remote corners? If so, it is time to install the TP Link range extender. But, we have seen cases in which users struggle with the TP Link extender setup. To ensure you don’t have to go through the same, let us guide you through the WiFi extender setup. So, get through the following points and learn what you must follow. Keep reading.
TP Link Extender Setup: Easiest Process
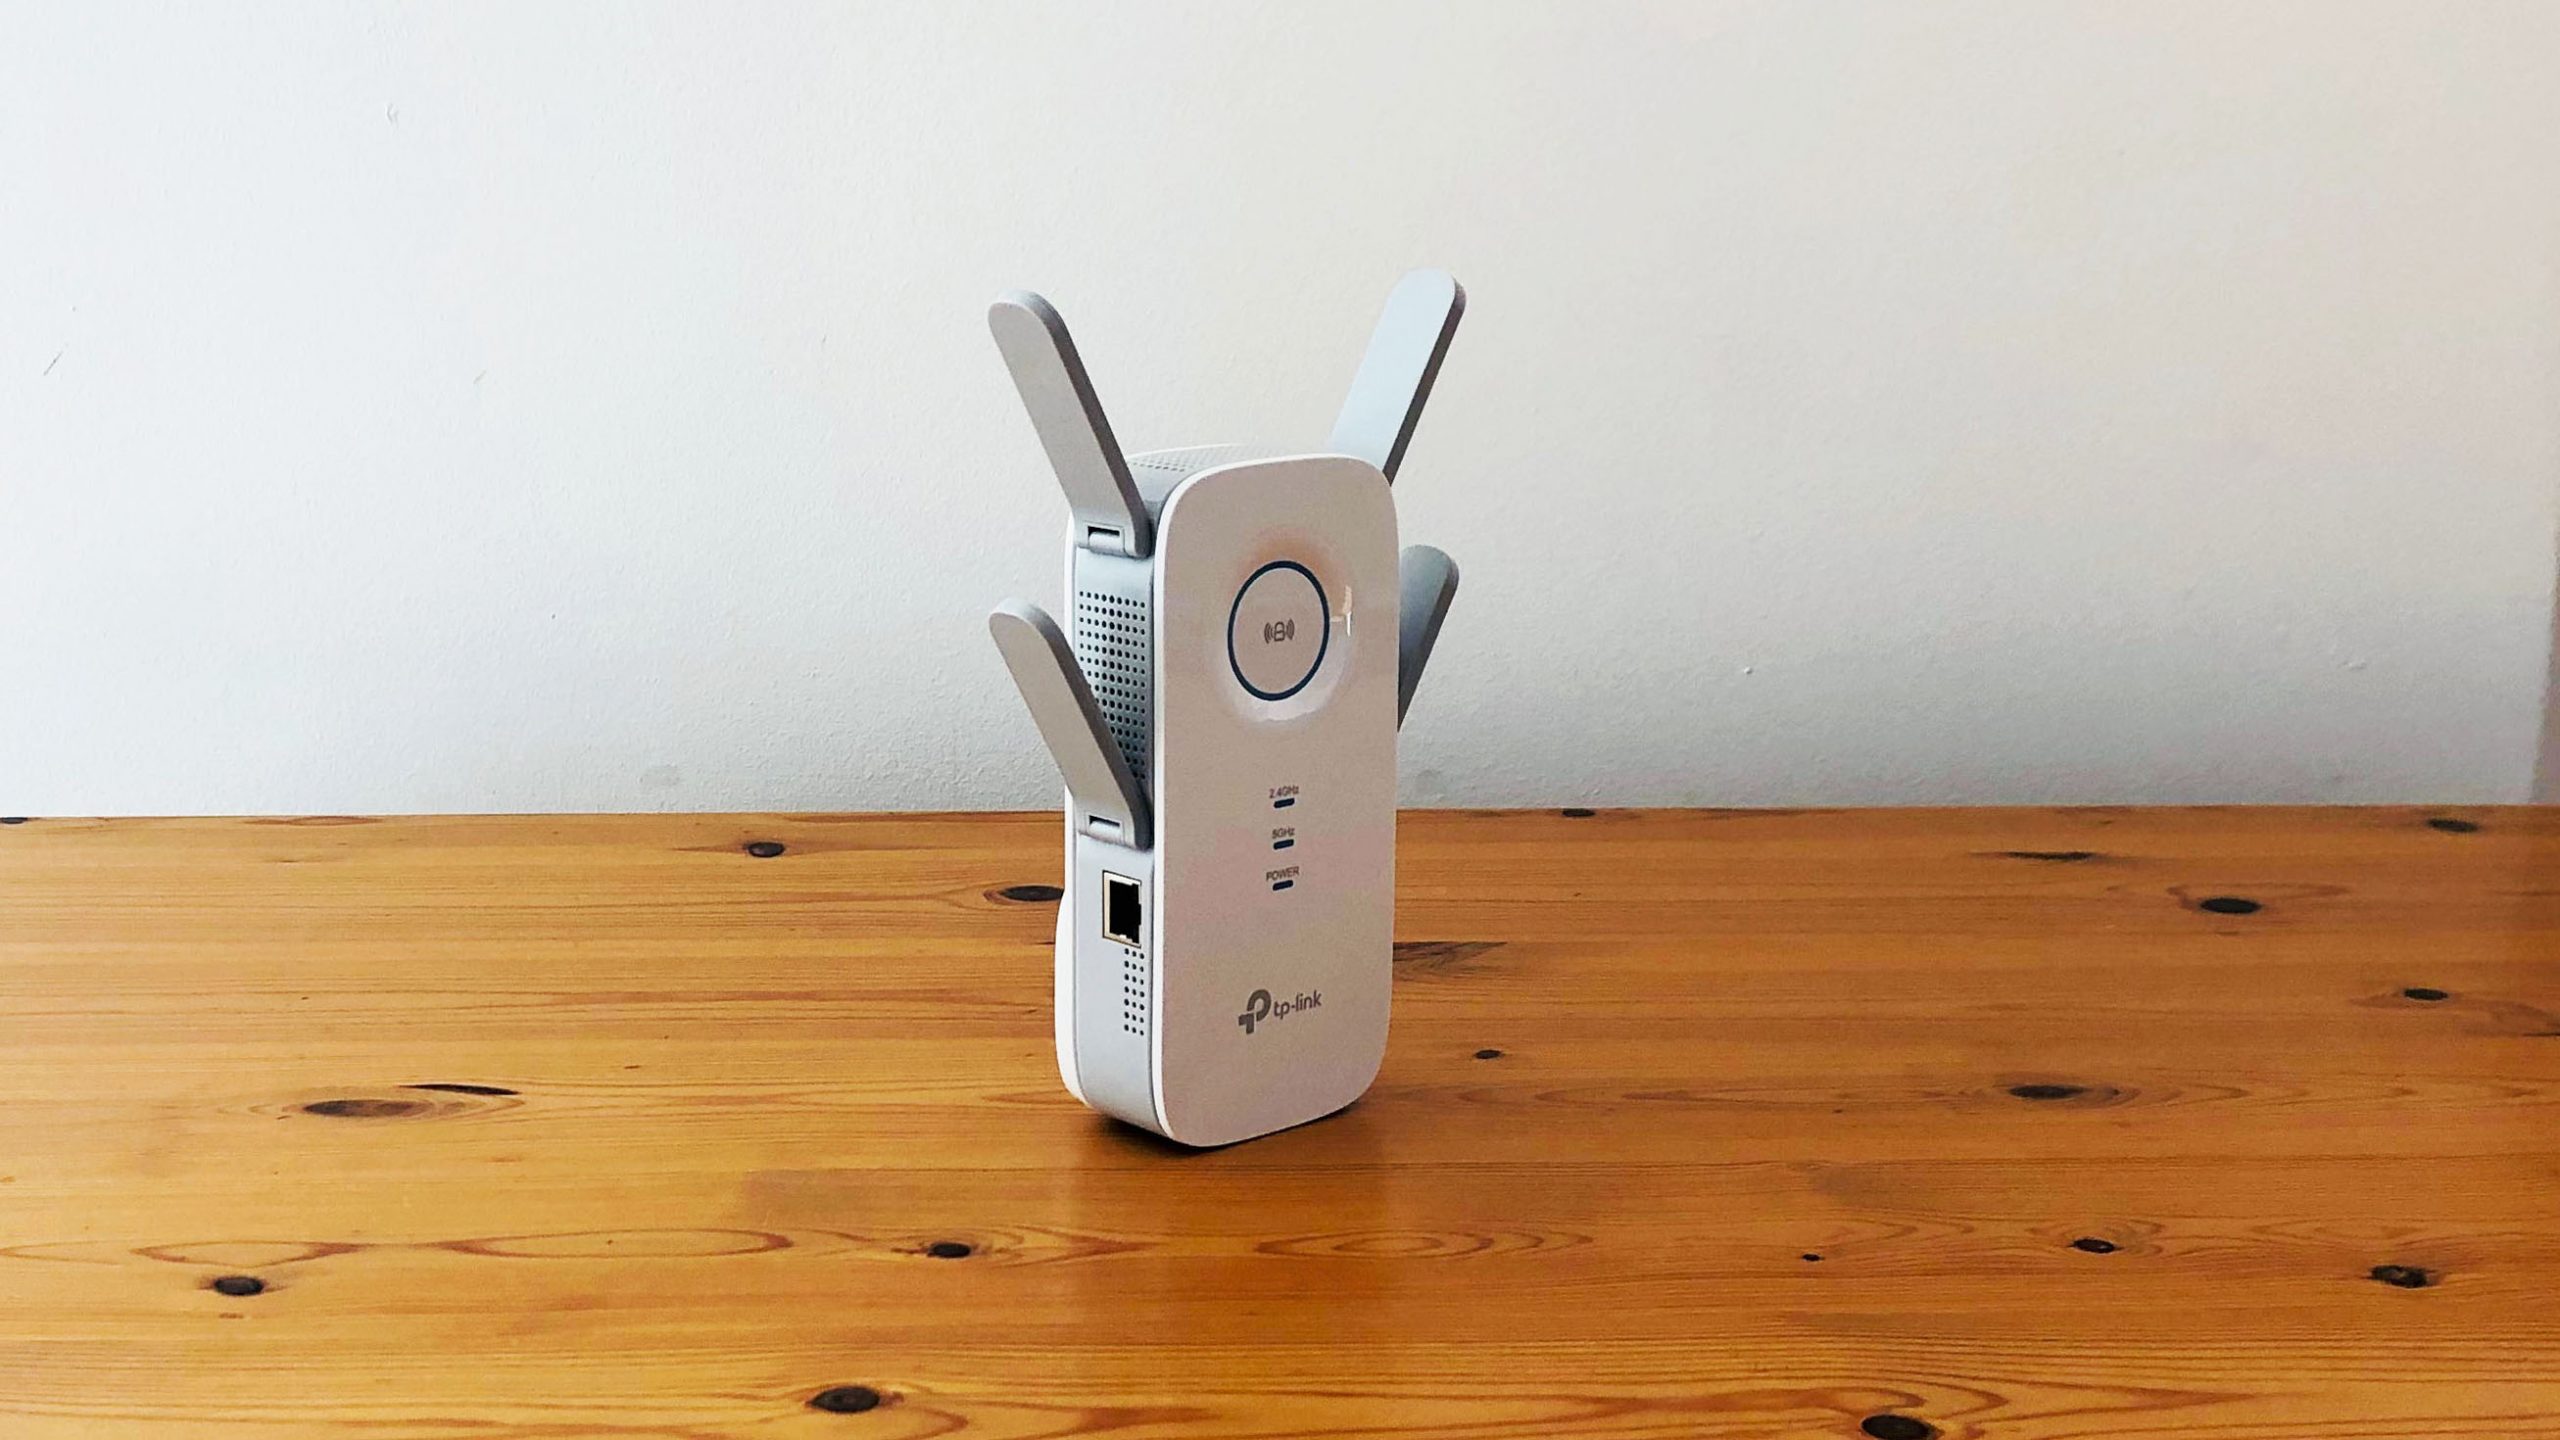
Set Hardware
The TP Link WiFi extender setup starts with setting up the hardware. Get hold of the device, unbox it, and get the extender antennas out of the box as well. Furthermore, you should not forget the Ethernet cable. Inspect the device to ensure there are no issues with the hardware.
Choose Placement
For the best WiFi range, you must choose an optimal place for your TP Link extender. It must be centrally located in your house. Furthermore, remove excess electrical gadgets surrounding your range extender.
Furthermore, be careful about placing the range extender by a window. Also, it must not be in a corner, under the table, a wall cabinet, or behind a television.
Link Devices
Look out for a wall plug to turn on your TP Link extender after finalizing a place. If there is none, you can even use an extension cord. After that, you can connect the range extender to the host router via a cable or a wireless connection.
Since you are doing the WiFi extender setup for the first time, make sure you use a wired connection. It is more stable and offers a consistent internet supply to the extender.
Launch Web Browser
Turn to a computer/laptop and power it on. Connect the power supply to have a consistent electricity supply. Once the system is stable, you need to launch a web browser. Make sure that the web browser you are using is up to date.
Furthermore, you should check its compatibility with the computer Operating System as well. If nothing works, download a new updated web browser.
Enter Default URL
Take the mouse cursor to the address bar, click on it, and enter the default URL. Type the http://tplinkrepeater.net in the URL bar. While doing so, you should all the errors from the web address.
You need to avoid entering the information in the search bar. If you do so, you might get different results. Therefore, always use the URL bar only to enter the default web address of the TP Link WiFi extender.
Do Extender Login
To open the range extender setup wizard, you have to do the TP Link extender login. Thus, get hold of your default login details. You must be thinking – where can I get the details? Well, get through the user manual that you received with the TP link extender.
Enter the default username and password in the allocated spaces. Make sure you turn off the Caps Lock key when you enter the default login details. Click the Log In button once you are done.
Follow Through On-Screen Instructions
The on-screen instruction can be different for different TP Link extender models. For instance, if you have just completed the TP Link AC750 setup, its on-screen instructions will be different from other models.
So, depending on the model you have, you should get through the onscreen instructions. If needed, you can change the settings of your range extender.
Save Changes
Hit the Save button to complete the TP Link extender. If asked, go for a range extender reboot. That’s it!
Sum Up
You can even use the TP Link app to do the login and access extender setup page. After the setup, you have access to a seamless internet connection throughout your house. Moreover, there won’t be any internet dead zones as well.